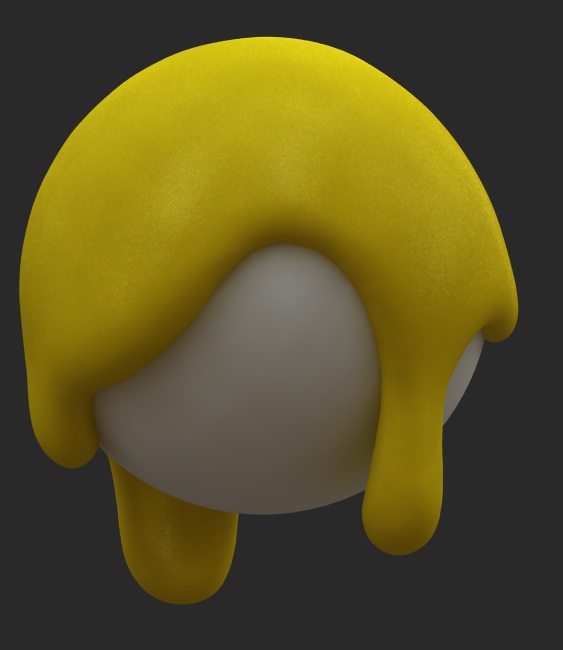
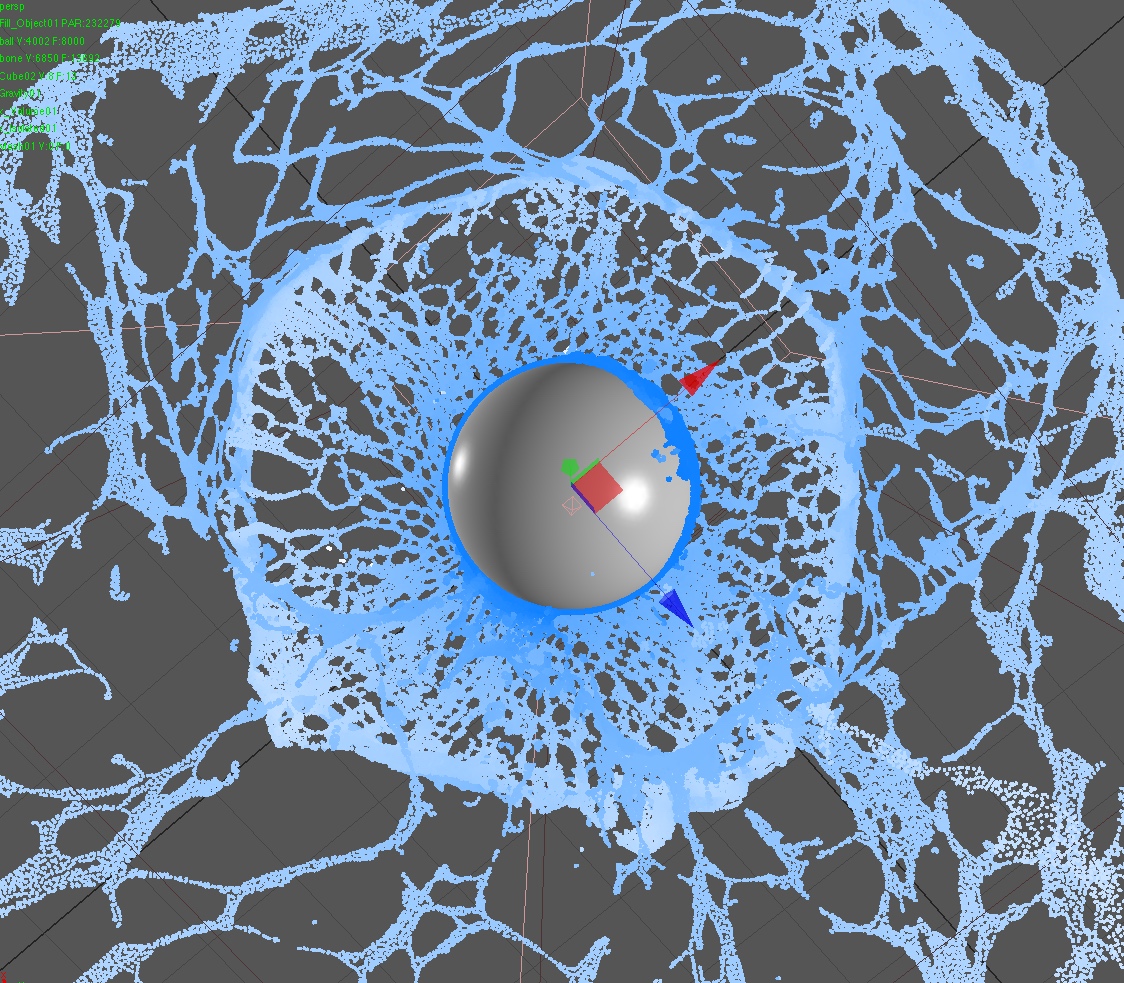
I've been playing with RealFlow trying to get a paint like gooey stretchy look, finally figured out that Surface Tension was the important ingredient in high values: 2000+
Guide here:
Link: www.realflow.com --- surface_tension
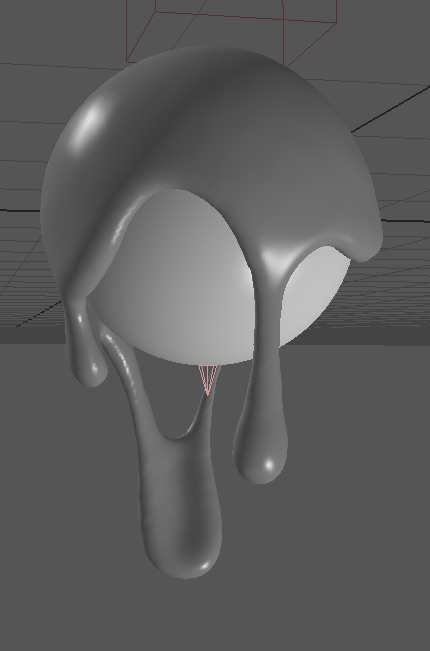
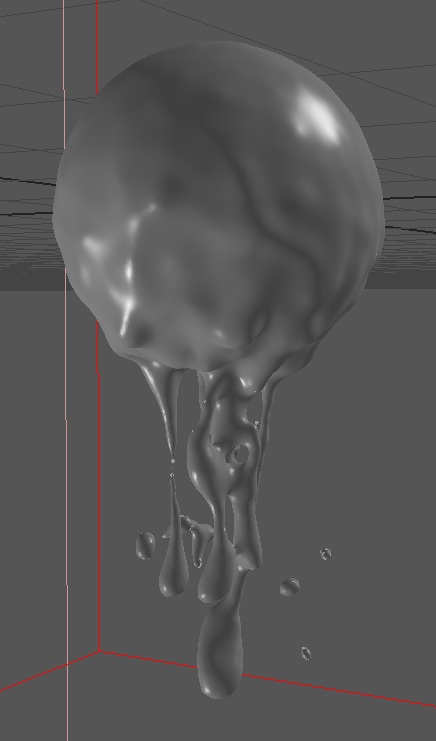
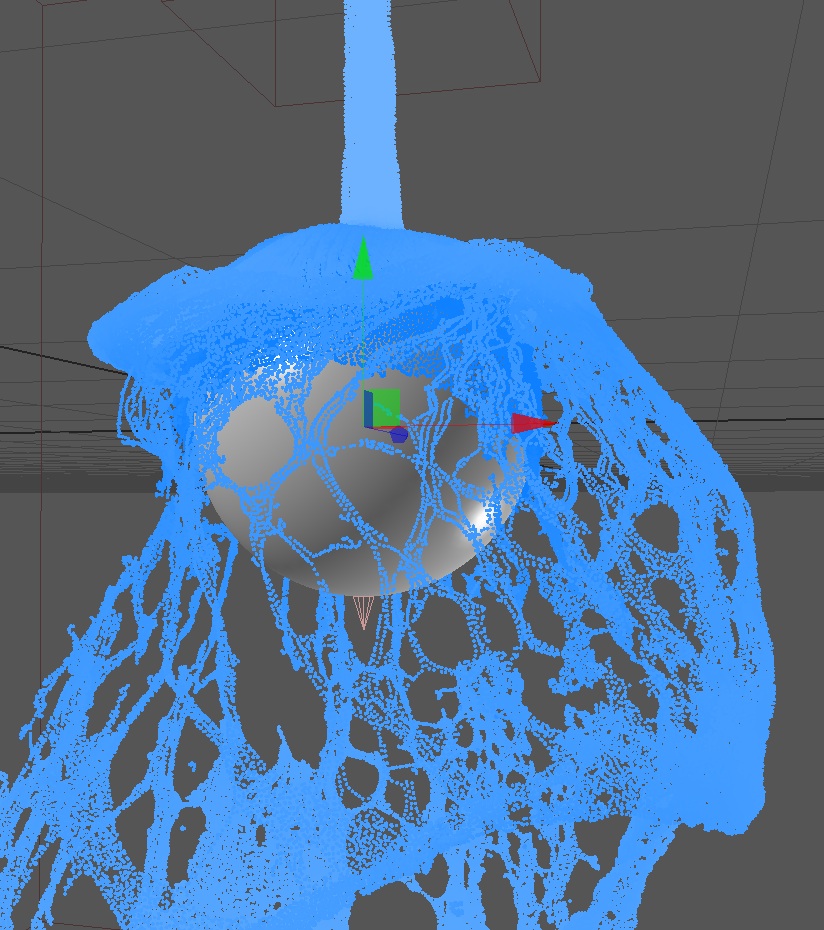
And some earlier not so successful but entertaining tests:
Has all kinds of free brushes you can download:
Link: Qbrushes.com

So you too can follow everyone else in style and substance for that not YET dated 21st century style
You too then can paint with light!
Below was achieved using special magical powers... well, not really, go learn about 32bit, then go play with 32bit in Photoshop and think in terms of light and wavelengths instead of that old fangled 256 levels of RGB your brain has been likely used to for so long... so 19th century.

Playing with photos and Photomatrix Pro:
Ok so I take several photos at different shutter speeds and fstops, it seems like when you open the RAW file in Photomatrix Pro it exposes/view all of the images at some set value which is correct!!!
So for example these two:
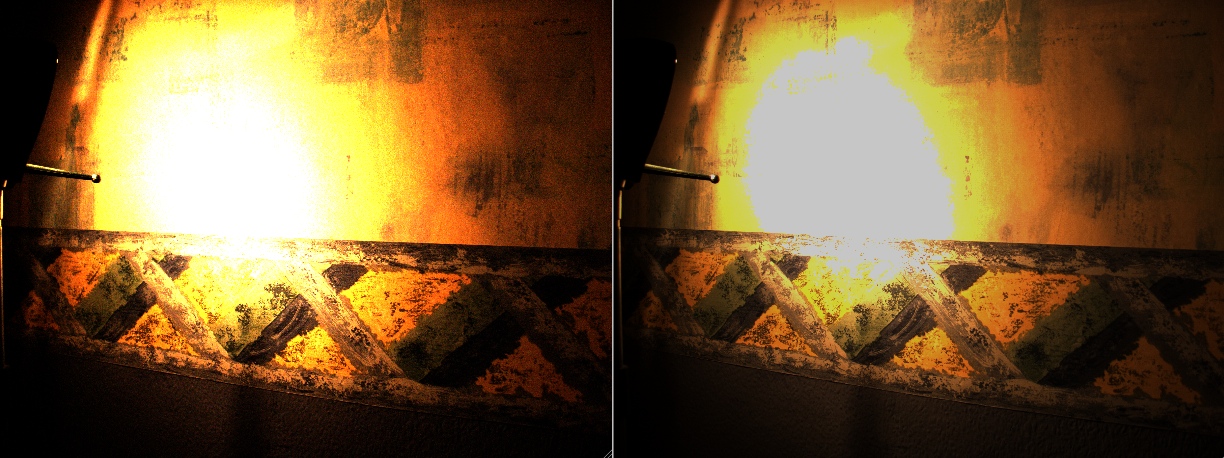
Look the same, but they were taken are very different exposure settings, this is revealed by reducing the exposure on thei mage in post revealing that the one imagecaptured details in the lighter areas where the other didnt:
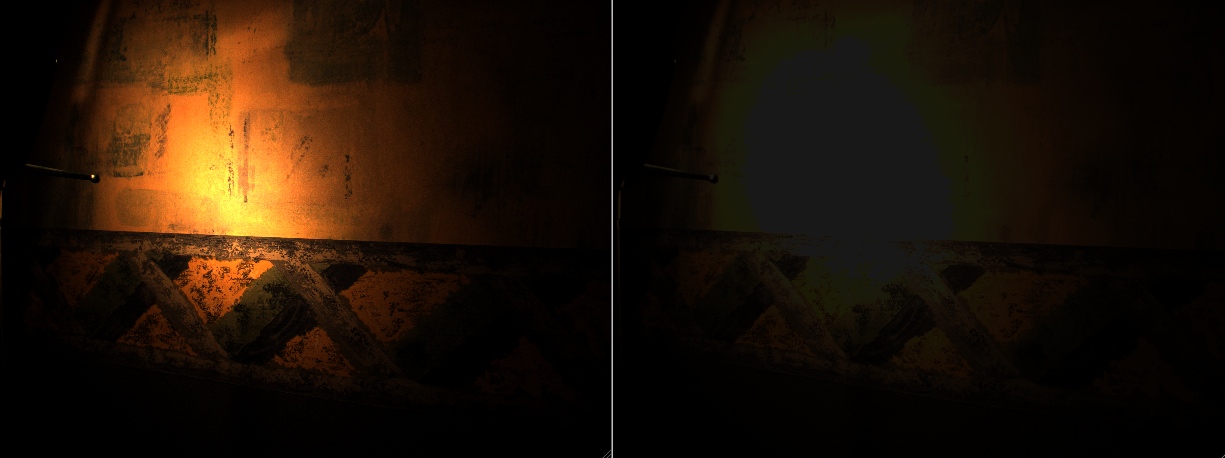
Same two images but with the exposure reduced in post. This is how image programs should behave!
Now for example lets open the same 2 images in photoshop and you will see my issue:
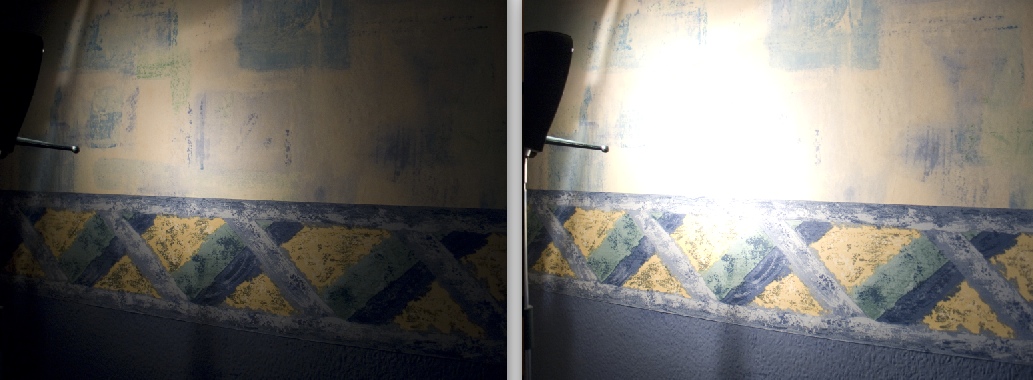
The one appears much brighter as photoshop views then relatively not absolutely. Which makes sense for the majority of things.
The problem is when assembling several exposures into 1 HDR image, at some genius point it shifts all the image brightness values to a centre point, an image preview white point or something, effectively turning the values into relative opposed to absolute.
Relative is nice for viewing images as you don't have to worry about exposing it properly in the viewer, however it makes HDR images USELESS! for rendering/image based lighting. It should be down to the viewer/reader to expose the image correctly but instead it appears to physically move light values around in order to bring it to a centre point for viewing.
I'm still not sure what's going on, I'm now getting the feeling that the image data recorded is kept accurate in linear pixel values and It's just the viewer converting it... It's hard to tell as I have found NO software that lets you sample a pixel and tell you It's real inear luminance value, they all tell you the relative value I think.
What I want to be able to do is take a 3D render and take a photograph and sample the actual surface luminance and check they are correct, check the sun is the right luminance, check the wall is the right luminance value for the size of room and the provided lighting.
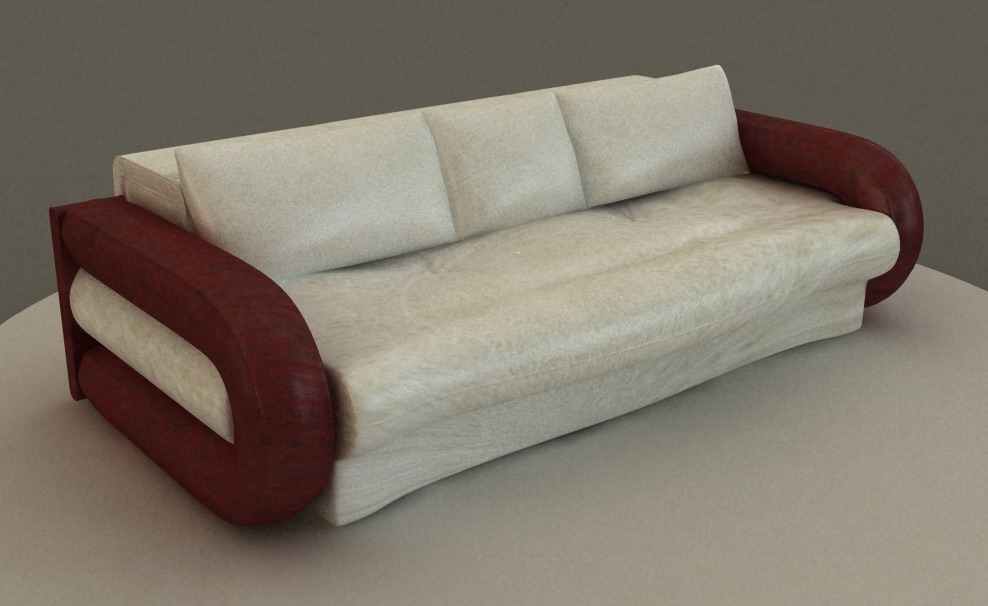
Just been tweaking and materializing a sofa I got from Evermotion:
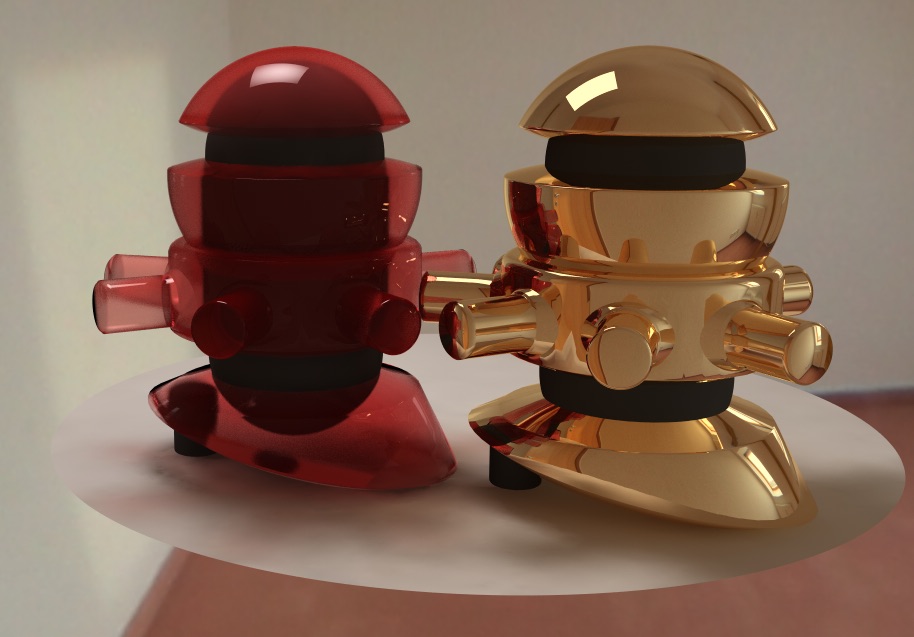
Doing some material tests, so I created this weird widget for testing them... he's friendly honest, Introducing friendly material test widget guy:
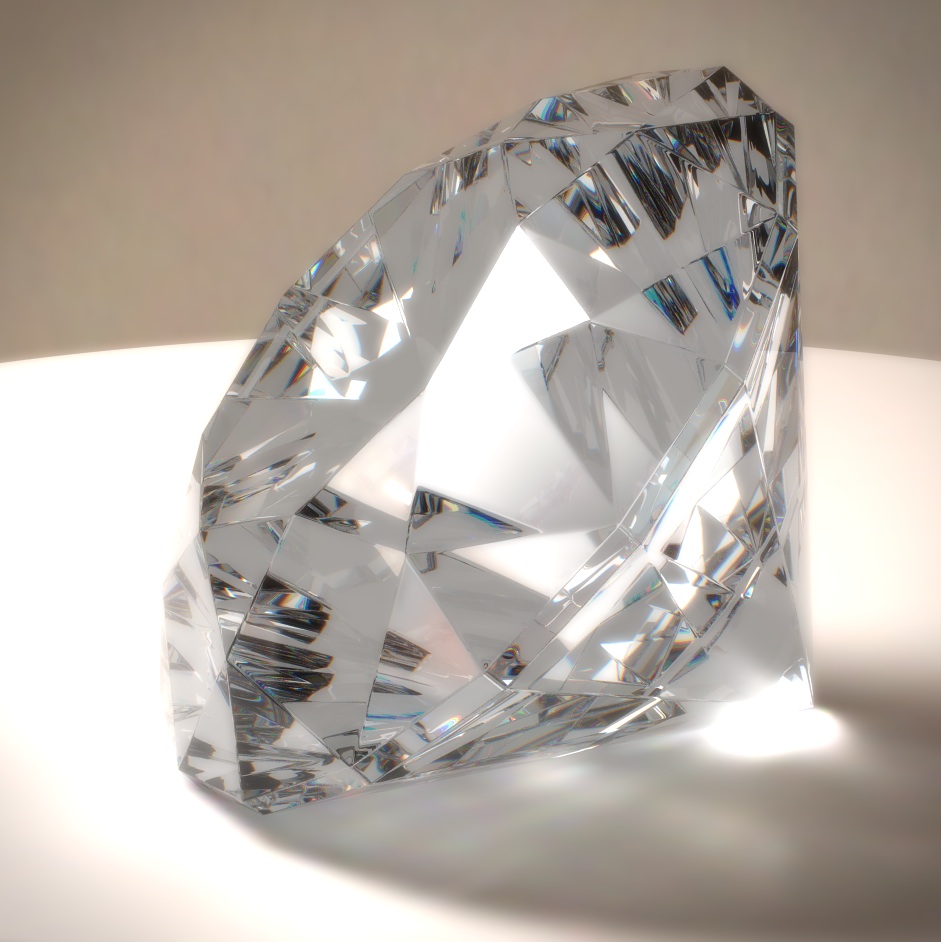
Faking Color Dispersion, this is done by rendering it 3 times with slightly different IOR value. Then puting each render into R, G and B channels in photoshop.

1st = one pass, 2nd = 3 passes joined, 3rd = Post Effects
In future vray versions for C4D you should be able to do this effect in 1 render using Blend materials... which would be nice as this naturally takes 3x longer to render! and is a fiddle
The GI is quite low and is only using GI caustics so It's quite blurry.
Reference Photo:

($16 million for the above, my render cost considerably less)
And here a bigger render:
And in green:
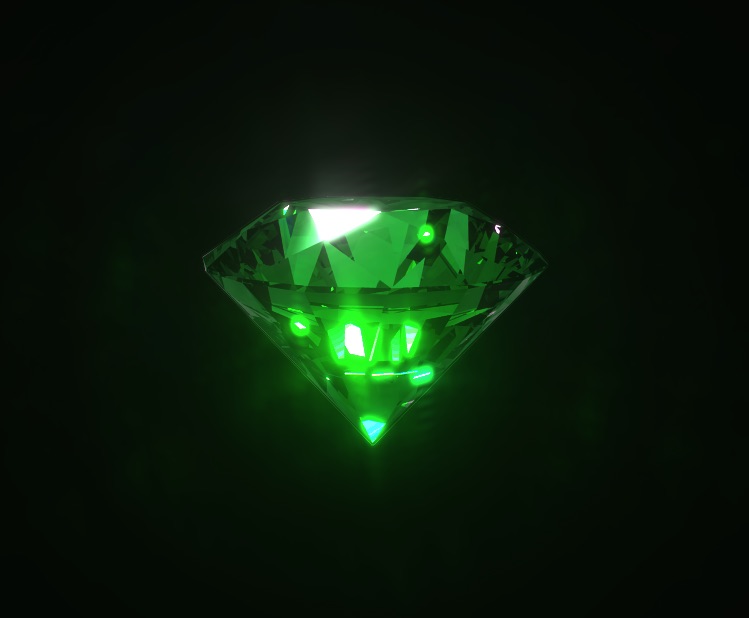
The fancy bloom/drity lens effect is done in post by Maxwell's Simulens, render done by Vray

